


I. Introduction to the System
Server Selection: Ubuntu Server Version 18.04.6. The runtime environment for Fairy Runner is installed.
1.1 Logging In to a Server
After powering on, please wait for the system to finish loading. Once it's ready, the following interface will appear.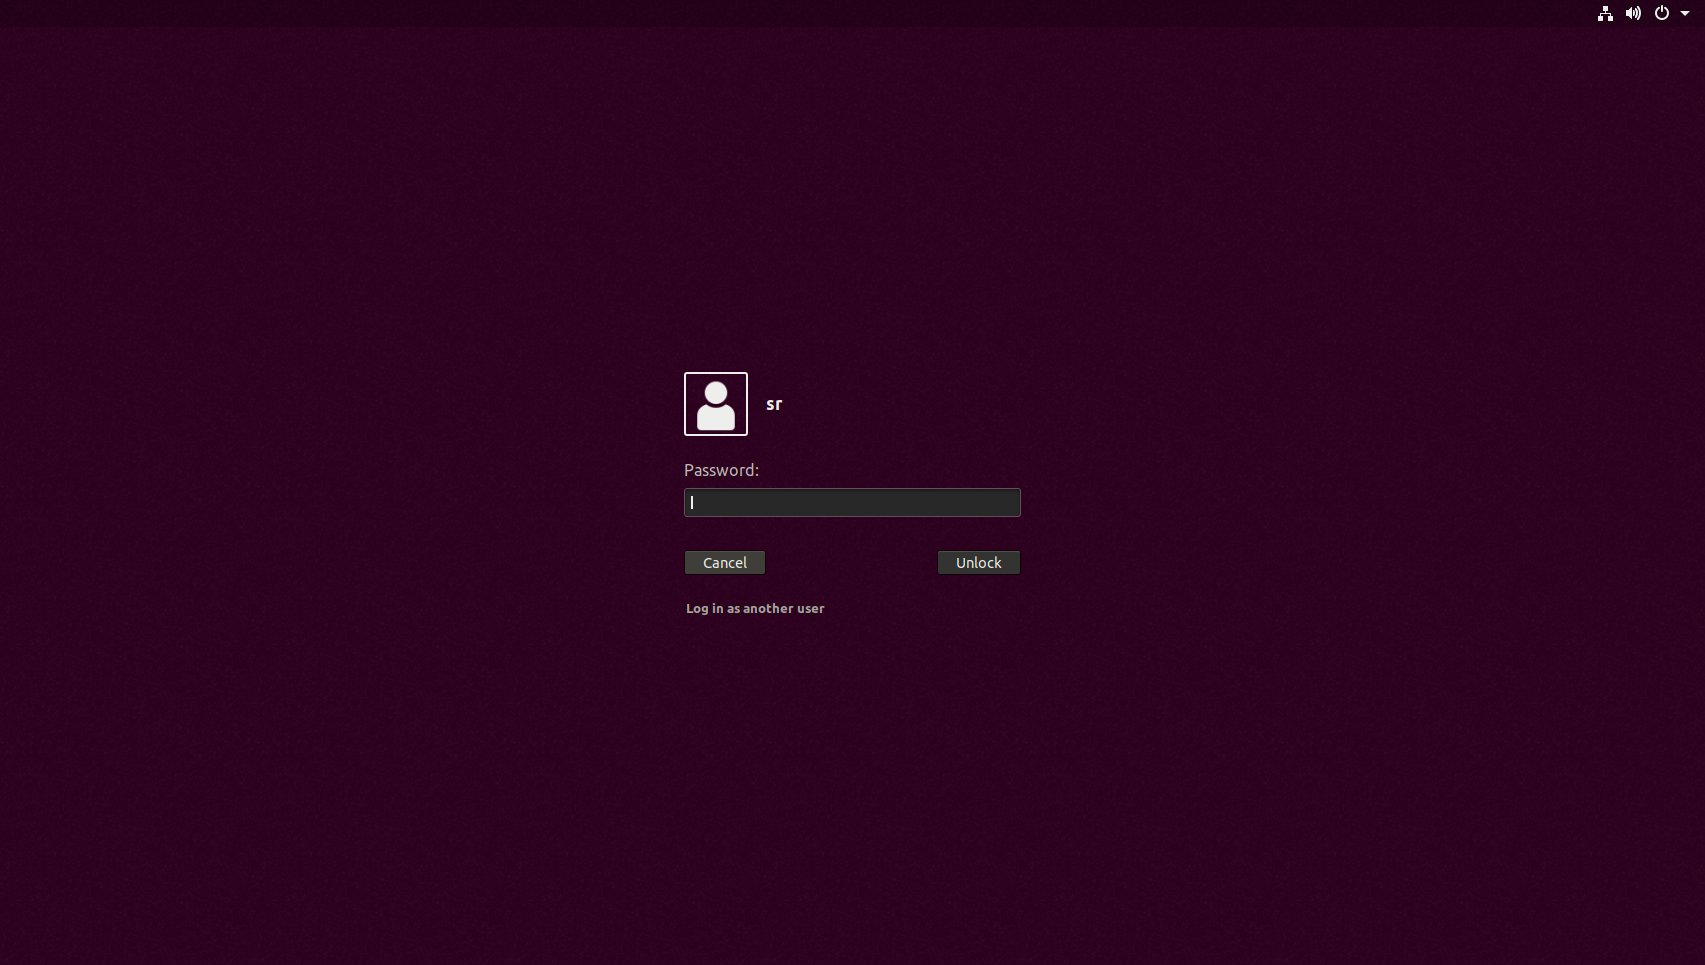
user:sr
passwd: sr
2
3
The system desktop is being displayed.
1.2 Common Linux Commands
View Linux system version
cat /proc/version
2
II. Introduction to Software
The server has the following software installed:
OpenJDK 11MongoDB Server (5.0.3)MariaDB Server (10.6.4)DBeaver(Database Visual Debugging Tool)TeamViewer(Remote Debugging Tool)Wireshark(Network Packet Capture Tool)
2.1 OpenJDK 11
Choose to install the Java environment online (as decompressing the installation and configuring environment variables can be complicated).
- Install
Java 11
sudo apt-get install openjdk-11-jdk openjdk-11-jre
2
- View
JavaVersion
java -version
2
2.2 MariaDB Server (used for RDS)
2.2.1 Installation of MariaDB Server
MariaDB Server: Select online installation (other methods may result in permission issues).
The installation process is as follows:
- Dependency that is dependent on installation
sudo apt-get install software-properties-common dirmngr apt-transport-https
2
- Import Key
sudo apt-key adv --fetch-keys 'https://mariadb.org/mariadb_release_signing_key.asc'
2
- Import and download source code
sudo add-apt-repository 'deb [arch=amd64,arm64,ppc64el] https://ftp.ubuntu-tw.org/mirror/mariadb/repo/10.7/ubuntu bionic main'
2
Note:
At times, the connection to the download source may time out. Kindly visit the MariaDB website for a fresh download source.
DownloadMariaDB Server-MariaDB.org
- Update the download source list and install MariaDB
sudo apt update
sudo apt install mariadb-server
2
3
2.2.2 Configuring MariaDB
After completing the installation, initialize the database as follows:
- Sign in with
rootprivileges (You must sign in to the database with root privileges for the first time. The root password for the server isseer.)
su root
seer
2
3
- Initial setup
mysql_secure_installation
2
- The specific configuration is as follows:
[root@server1 ~]# mysql_secure_installation
NOTE: RUNNING ALL PARTS OF THIS SCRIPT IS RECOMMENDED FOR ALL MySQL
SERVERS IN PRODUCTION USE! PLEASE READ EACH STEP CAREFULLY!
In order to log into MySQL to secure it, we'll need the current
password for the root user. If you've just installed MySQL, and
you haven't set the root password yet, the password will be blank,
so you should just press enter here.
Enter current password for root (enter for none):<–初次运行直接回车
OK, successfully used password, moving on…
Setting the root password ensures that nobody can log into the MySQL
root user without the proper authorisation.
Set root password? [Y/n] <– 是否设置root用户密码,输入y并回车或直接回车
New password: <– 设置root用户的密码,这里配置为 mysql
Re-enter new password: <– 再输入一次你设置的密码, mysql
Password updated successfully!
Reloading privilege tables..
… Success!
By default, a MySQL installation has an anonymous user, allowing anyone
to log into MySQL without having to have a user account created for
them. This is intended only for testing, and to make the installation
go a bit smoother. You should remove them before moving into a
production environment.
Remove anonymous users? [Y/n] <– 是否删除匿名用户,生产环境建议删除,所以直接回车
… Success!
Normally, root should only be allowed to connect from 'localhost'. This
ensures that someone cannot guess at the root password from the network.
Disallow root login remotely? [Y/n] <–是否禁止root远程登录,根据自己的需求选择Y/n并回车,建议禁止
… Success!
By default, MySQL comes with a database named 'test' that anyone can
access. This is also intended only for testing, and should be removed
before moving into a production environment.
Remove test database and access to it? [Y/n] <– 是否删除test数据库,直接回车
- Dropping test database…
… Success!
- Removing privileges on test database…
… Success!
Reloading the privilege tables will ensure that all changes made so far
will take effect immediately.
Reload privilege tables now? [Y/n] <– 是否重新加载权限表,直接回车
… Success!
Cleaning up…
All done! If you've completed all of the above steps, your MySQL
installation should now be secure.
Thanks for using MySQL!
2
3
4
5
6
7
8
9
10
11
12
13
14
15
16
17
18
19
20
21
22
23
24
25
26
27
28
29
30
31
32
33
34
35
36
37
38
39
40
41
42
43
44
To confirm if the configuration has been successful, carry out the following steps:
- Sign in as a regular user
su sr
2
- Sign in to the database (using the root user of the database)
mysql -u root -p
输入密码:mysql
2
3
2.2.3 Common Database Operation Commands
- View the database
show databases;
2
- Establish a database
create database 数据库名;
2
- Choose a database
use 数据库名;
2
- View database tables
show tables;
2
- Delete the database
drop database 数据库名;
2
2.2.4 Common Linux Commands for MariaDB
- Activate/deactivate the database service
sudo systemctl start mariadb
sudo systemctl stop mariadb
2
3
- Verify the status of the database service
sudo systemctl status mariadb
2
- Configure the database service to start automatically
sudo systemctl enable mariadb
2
- Stop the database service.
sudo systemctl disable mariadb
2
2.2.5 Database Visualization Software
The DBeaver tool is installed on the server for visually modifying database information.
Download link: https://dbeaver.io/download/
The startup method is through terminal input.
dbeaver
2
For more information, please search on Baidu.
2.3 MongoDB Server (Used by SRDS and WMS)
2.3.1 Methods for Installing
For offline installation, download the installation package from the following link: https://www.mongodb.com/try/download/community
To install the dpkg installer, run the following command:
sudo dpkg -i mongodb-xxx.deb
2
Pressing Tab will automatically fill in the installation package name after entering a few characters. Keep in mind that the extension for the Ubuntu version is deb, while the extension for the CentOS version is rpm.
2.3.2 Common MongoDB Commands in Linux
- Activate/deactivate the database service
sudo systemctl start mongod.service
sudo systemctl stop mongod.service
2
3
- Verify the status of the database service
sudo systemctl status mongod.service
2
- Configure the database service to start automatically
sudo systemctl enable mongod.service
2
- Stop the database service.
sudo systemctl disable mongod.service
2
2.3.3 Database Visualization Software: MongoDB Compass
The mongodb-compass tool is installed on the server for visually modifying database information.
Download link: https://www.mongodb.com/try/download/compass
After downloading, use dpkg to install.
2.4 Remote Tools
There are various remote tools integrated into the server, such as Teamviewer, sunflower, and sshRemote.
The ssh remote of the server is set up with a private key for login. The private key can be downloaded from the attachment. The login password is @seer.
2.5 Wireshark
The server comes with a pre-installed packet capture tool, Wireshark, which can be accessed through the terminal input mode.
sudo wireshark
2
Note: Open Wireshark as a regular user. The network interface card information cannot be detected.
2.6 Roboshop
(Revised:Roboshop 2.6
There will not be a Linux version available in the near future for Roboshop on Ubuntu. To run Roboshop, you will need the assistance of Wine.
2.6.1 Installing Wine
The server has already been installed with wine. For instance, if it is installed on a server provided by the customer, run the following command:
sudo apt install wine64
2
Note: To install the 64-bit version of wine, do not directly install wine-stable. Otherwise, it will result in the installation of a large number of 32-bit dependencies and a conflict with the gnome desktop.
2.6.2 Executing roboshop
Copy the Roboshop zip version to the server's /home folder. Unzip it and navigate to the Roboshop folder. Enter the following command to start Roboshop:
wine RoboshopPro.exe
2
2.6.3 Updating Roboshop
It is recommended to replace the original Roboshop folder, if possible, without altering the file path.
2.6.4 Creating a Desktop Shortcut
Search for the file directory .desktop, select terminal, and copy it to the desktop.
Right-click and select "Edit Properties."
Enter the following command:
wine /home/sr/RoboshopPro/RoboshopPro.exe
2
Assign an executable command to the shortcut.
3. SRD System
3.1 Introduction to the SRD
SRD is stored by default in home/sr/SRD/. The contents of the folder are described as follows:
\bin                          # 用于存放启动文件和资源
            \data                     # 存放系统中使用的xml地图和柔性任务,程序启动后自动建立此文件夹
            \historyCfg               # 存放历史的配置文件,程序启动后自动建立此文件夹
            \logs                     # 存放日志文件,程序启动后自动建立此文件夹
            \upload                   # 程序启动后自动建立此文件夹
            lib xxx.so                # 此类文件是加密的依赖文件
            lsapiw64.dll              # 程序启动的依赖库依赖库
            lsapiw64.dll              # 程序启动的依赖库
            Iservrc                   # 激活文件,必须为这个名称
            srd-standard              # linux系统下的启动脚本
            srd-standard.bat          # windows系统下启动的批处理文件

        \lib                          # 用于存放srd程序
        \ui                           # 用于存档浏览器访问的ui界面,注意更新ui时,只要替换此文件,刷新浏览器即可
        srd-config.sample.yaml        # srd的配置文件示例
        srd-config.yaml               # srd的配置文件
2
3
4
5
6
7
8
9
10
11
12
13
14
15
16
3.2 Starting the srd Program
Enter the following directory: /home/sr/SRD/bin/. In the directory, right-click on the blank space and select open in terminal. Then, type the command sudo bash srd-standard to start the SRD program. Once the startup is successful, the interface shown below will be displayed: 
Next, log in to your browser and access http://host:7100 to access the SRD management page.
To log in to a host on a LAN other than the local host of the server, set the host to the server's IP address.
The default port is 7100 and can be accessed in /home/sr/SRD/srd-config.yaml if configured.

The SRD account information by default is as follows:
user: admin
passwd: SeerSRD_Admin123
2
3
Please log in and create your own account to use.
Creating a role user (customizable).
Create a user.
3.3 SRD: Enable the Desktop Shortcut for Faster Access
To create desktop shortcuts, follow the same process as for roboshop. However, for this, you need to create a separate startup script called start.sh. The script should be as follows:
#!/bin/sh

cd /home/sr/seer/SRD/bin/

gnome-terminal -- sudo bash srd-standard
2
3
4
5
6
If you are creating the sh file for the first time, you will need to convert the file type to an executable file.
chmod +x start.sh
2
The script is then called upon in the shortcut settings screen.
gnome-terminal -x /home/sr/SRD/start.sh
2
Modify the designated path at your discretion
Four, RDS system
The server comes with rds and rds-core pre-installed. Do not reinstall them. Use robod to take over. Upgrades and booting are self-starting. Renewal and activation of rds related procedures can be done through roboshop.
4.1 Directory Description
# 程序目录,各目录下自己管理
  /opt/data/wms
  /opt/data/rds
  /opt/data/rdscore
  /opt/data/srd
  /opt/data/roboshop

# 程序数据目录
  /opt/.data/wms
  /opt/.data/rds
  /opt/.data/rdscore
  /opt/.data/srd
  /opt/.data/roboshop

# 工具目录
  /opt/data/tools/

# 备份目录
  /opt/backups/
2
3
4
5
6
7
8
9
10
11
12
13
14
15
16
17
18
19
4.2 Updates
Intra-server RDS. The program version is outdated, please update in a timely manner. The new version is available in the work in process library Wiki for download.RoboD 4.2.8 cannot be launched after updating due to bugs in the version. Therefore, please update the RDS program in a timely manner.
5. Set up the network interface card address
Click on the network icon located in the top right corner to configure the IP address.
Note: The static IP address will not take effect immediately after the change. You must disable the network adapter and restart it for the changes to take effect.
Six Commonly Asked Questions
6.1 The program Cannot be Started After RDS is Updated
Server built-in with Robod - an older version. Please update to the latest version 4.3.3. After updating, please restart the RDS program.


 Thanks feedback
 Thanks feedback
 Build your own AMR fleet within days


